September 24, 2013
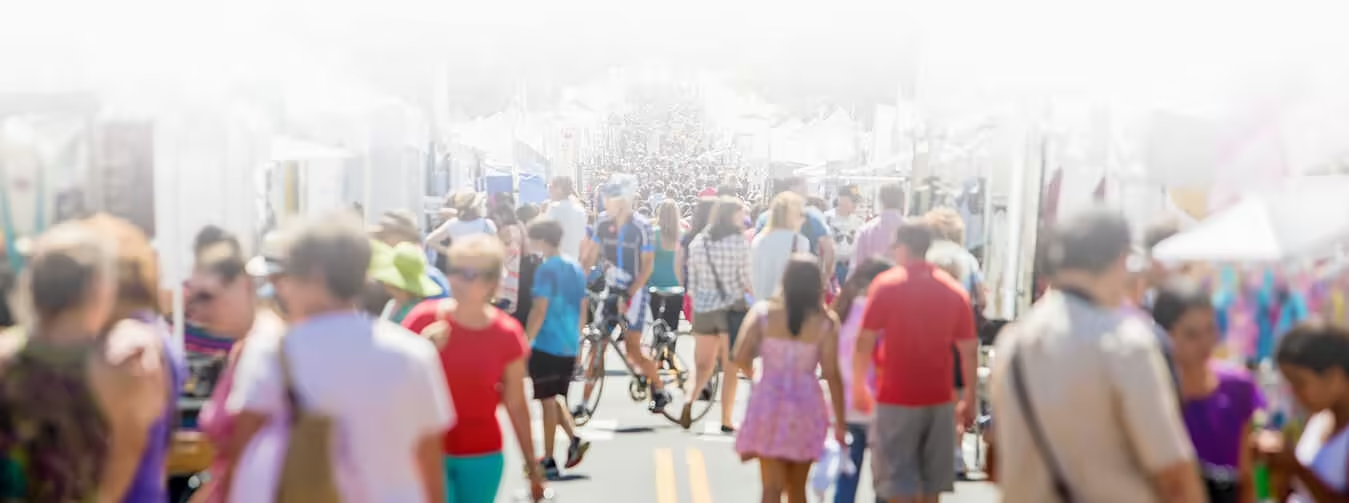
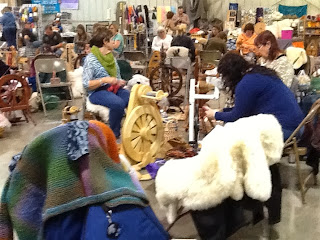
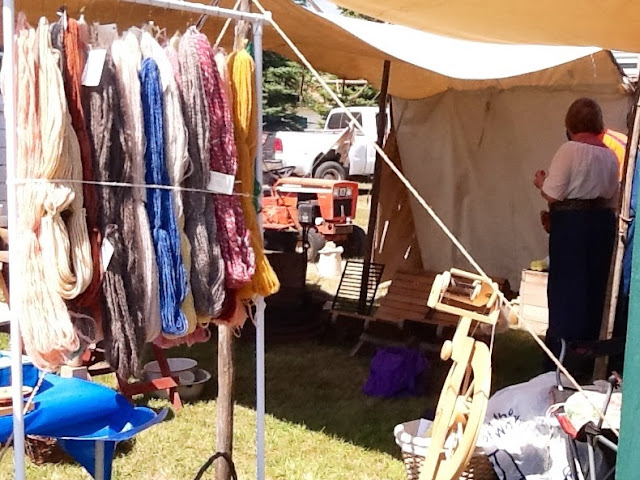
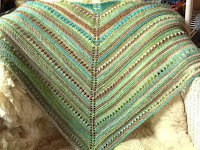
North Country Fiber Fair
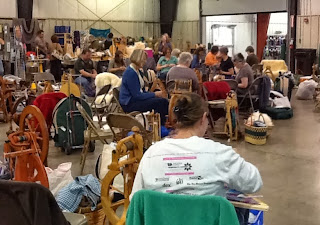
The fair lasts for three days. There is no admission fee. Countless demonstrations are taking place all three days. In the barn and area a there are sheep, goats, llamas, alpacas, even a Bactrin camel! There are animal judging contests, sheering demonstrations, dog obedience and sheep dog demonstrations.


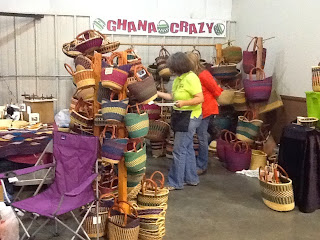


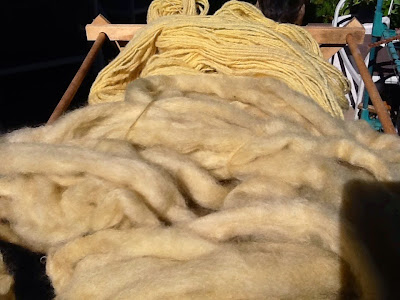
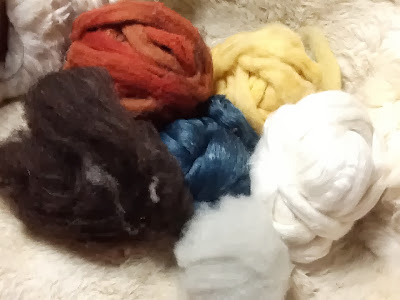
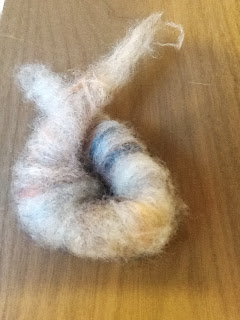
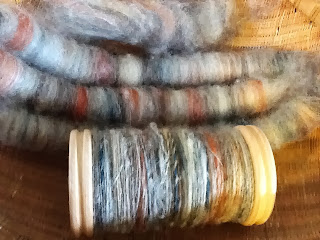
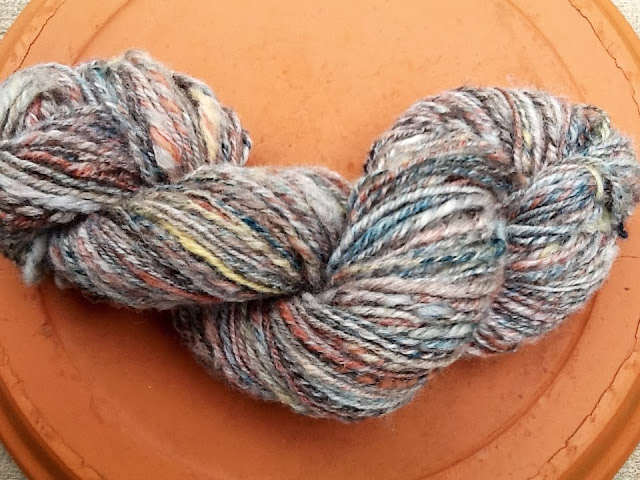
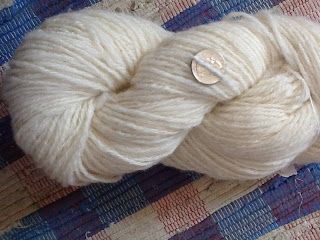
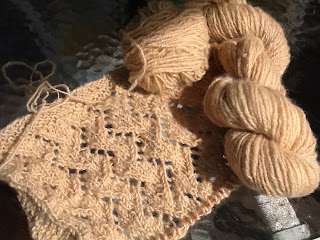
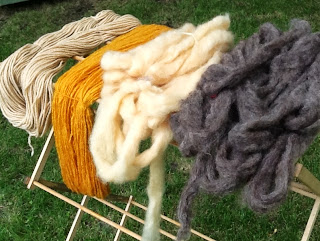
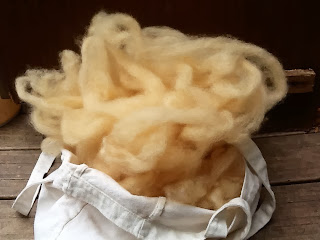
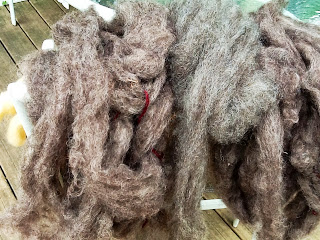
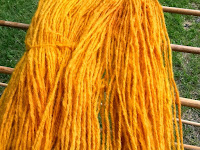
I tried to stop myself, but I did buy some really wonderful roving, a large bag of beautifully hand dyed mohair locks, some yarns that were hand dyed, and almost another wheel...
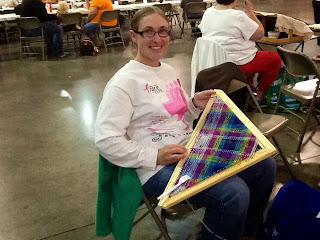
Classes are offered on spinning, knitting, basket weaving, dying, color theory, crochet, photography, Kumihimo,braiding, felting, wool combing, tatting, nalbinding, rug hooking, and even building and using a triangle loom.
I didn't sign up for any classes this year, but will next year. It was really a lot of fun. Well worth the drive. Good people, interesting demonstrations, lovely things to touch and buy... and a lot of inspiration. I have all sorts of new things I want to try! Next year. I am already looking forward to it!


 I heated
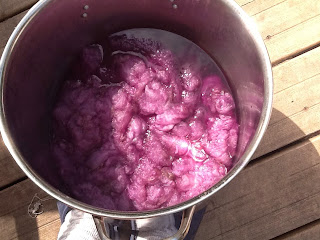


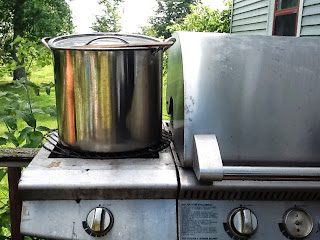


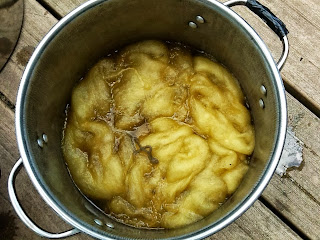


 after it was rinsed!
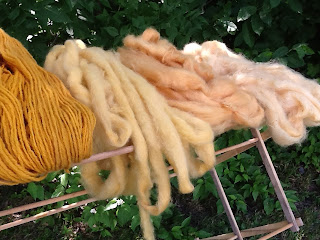
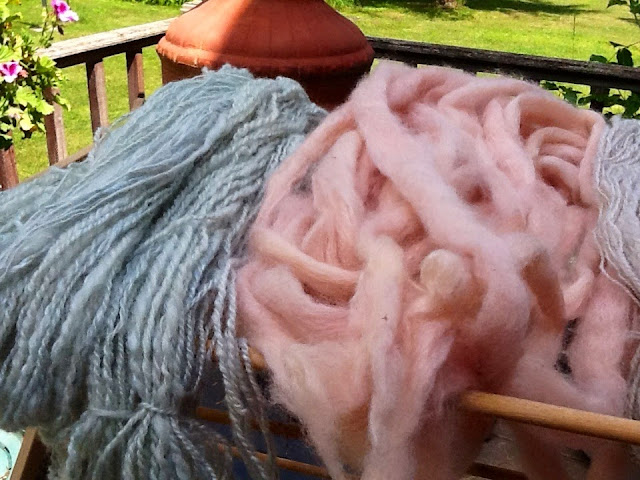
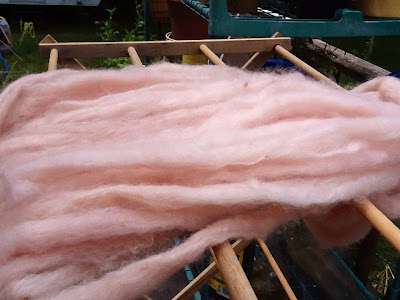
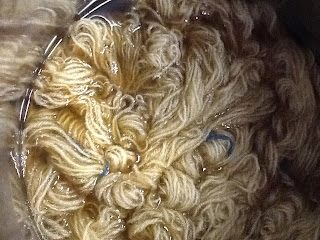
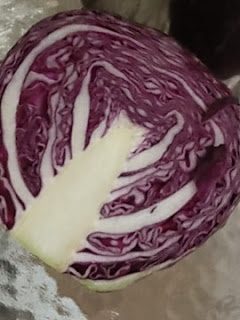
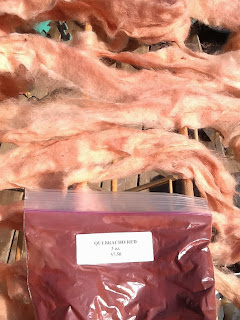
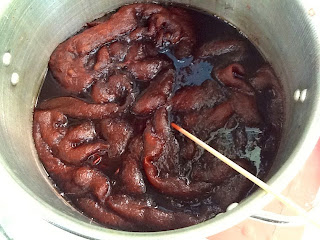
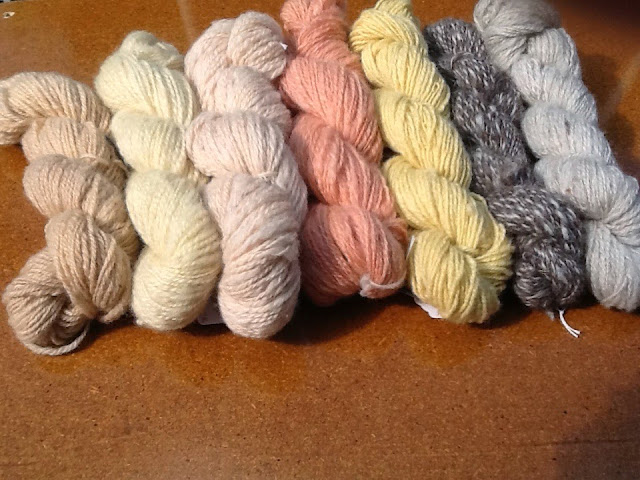
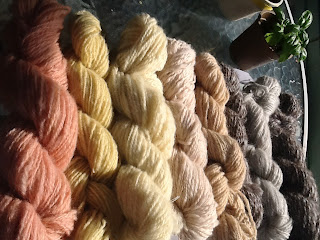
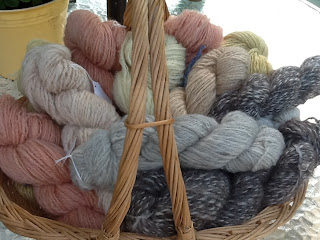
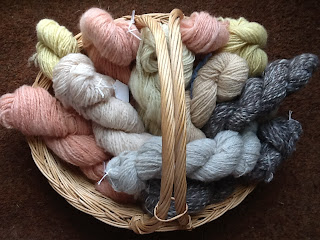
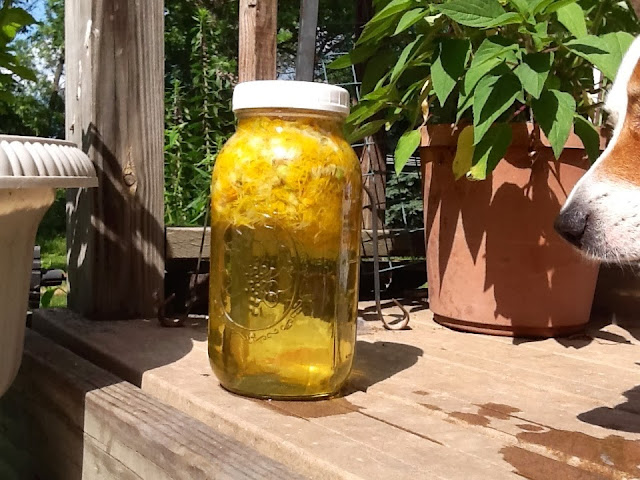
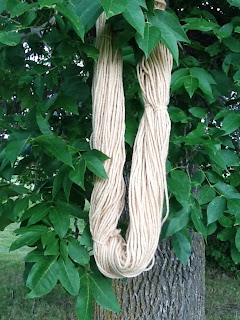
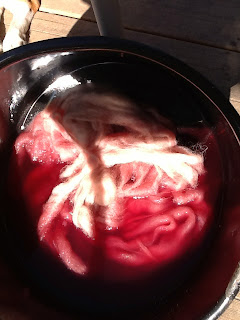 I decided that I was unhappy with my first attempt at dying wool with red cabbage (see 6/22/13). I have seen so many examples where people have gotten much stronger colors than I did. I decided to try the whole thing over still using alum and cream of tarter as a mordant. I prepared the dye bath the same as before, only this time I mordanted the yarn, not the pot. I was hoping this would result in stronger colors in the yarn.